This photo-essay documents about 2 days of experimentation that resulted in a pretty stupendous new variation on Max’s “Cabin Stove.” The overall footprint of the stove determined the firebox size, and the geometry resulted in a rectangular heat riser that took hot gasses from a vertical throat in the corner of the firebox — unconventional, but it worked amazingly well. More to come! (Ed. Note: This stove, like so many others, is merely one more in a long line of innovations and adaptations, all based on the same basic principles: burn the fuel fast, hot, & clean, and extract and store as much heat as possible prior to venting. Within this long tradition, however, valuable technical analysis and development has recently been offered by a Danish builder named Peter Vandenberg. His contribution have provided inspiration and guidance for understanding and improving the hows and whys of clean combustion. Peter offers comments at the end of the post, and is a regular contributor (along with Lasse Holmes) to an online stove forum at http://donkey32.proboards.com/.
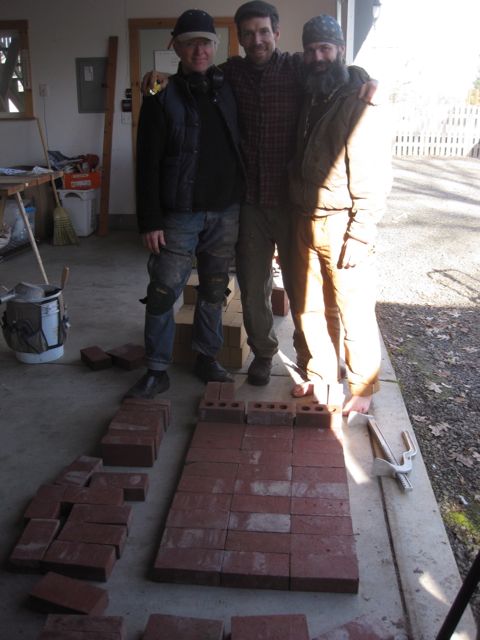
We gather at fire camp in OR, hosted by Max Edleson, stovers Lasse Holmes, (AK) & Kiko Denzer (OR)
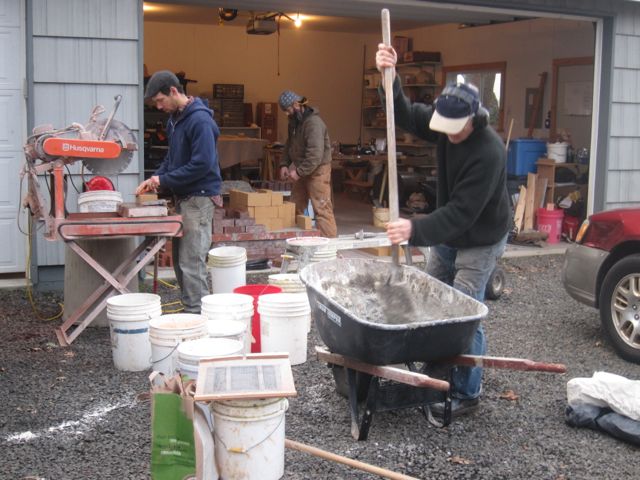
shop, wet saw, dry covered space, bricks

mortar: approx. 2 parts mason’s sand, 1 part clay, and a trowel or three of ash; the ash makes it buttery and easy to work — and possibly stronger

bottom channels are laid up on a layer of solids, 3 bricks wide by 5 deep (classic (fibonacci) proportions!)
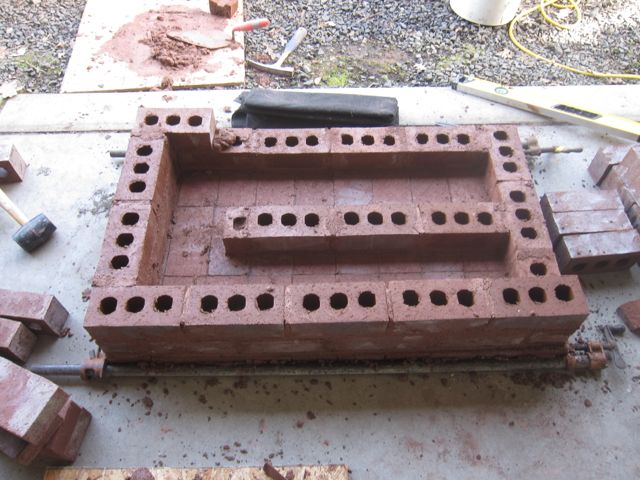
channels are 5″ wide x 6″ high, for total cross sectional surface area (CSA) of 30 sq. in.
CSA is critical for maintaining flow, and should equal the CSA of the final 6″ round exit flue
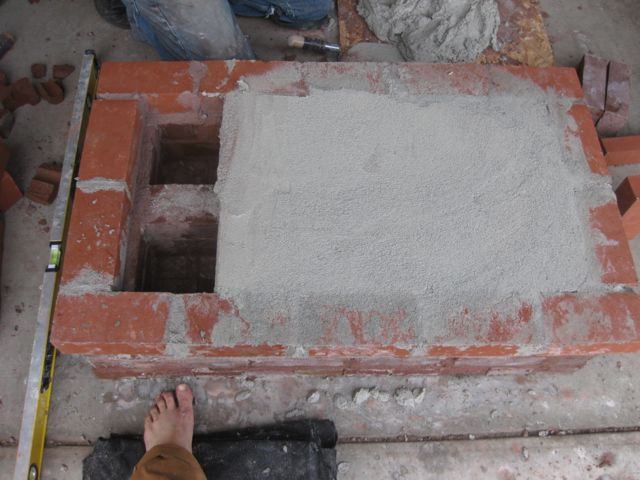
capping layer: our solids were a bit bigger than the cored bricks, which made for a nice reveal around the edge
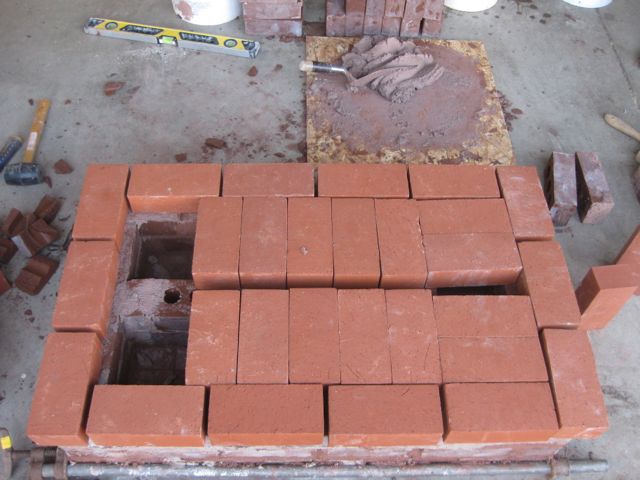
edge bricks got laid in mortar; cappers were dry-laid
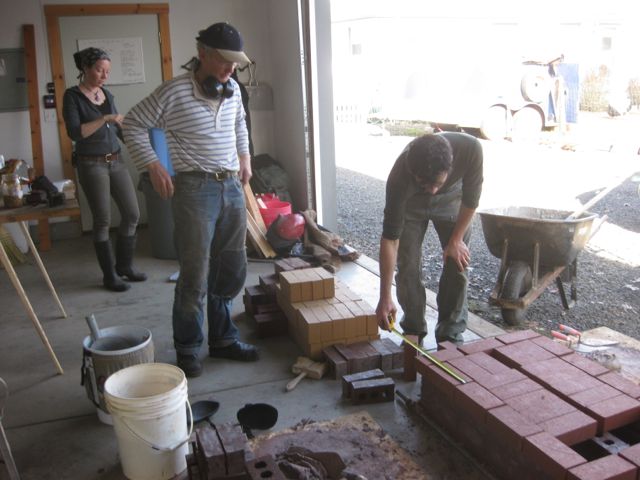
measure twice: just to be sure
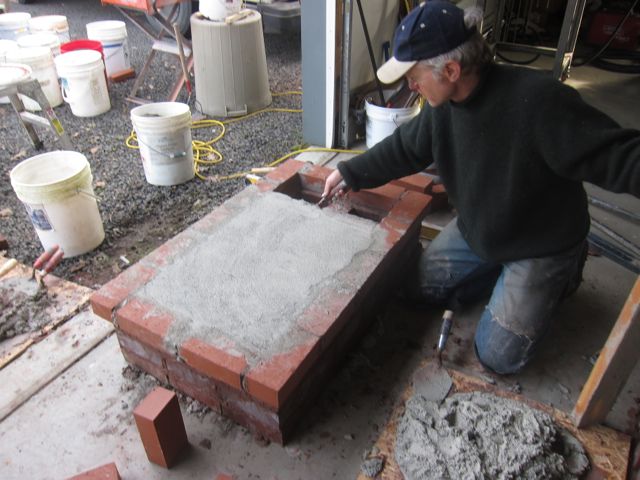
parging, to seal the channels: the mortared edge bricks provided a screed for a bed of mortar
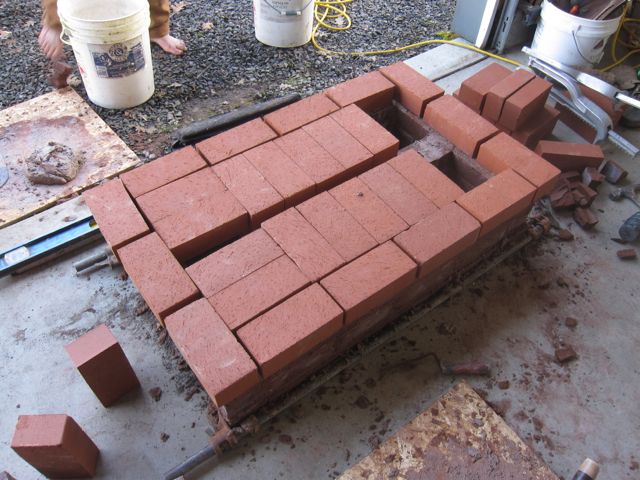
in and out: gasses flow in (down) at top left, turn right, then back and up at bottom left
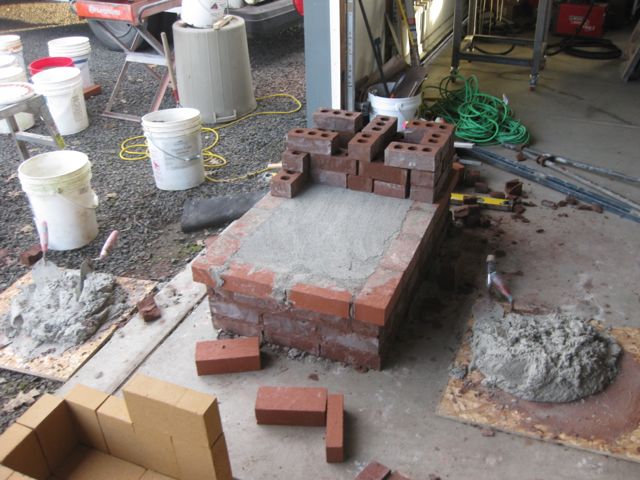
dry fitting the up and down channels (vertical stacks at the end of the photo)
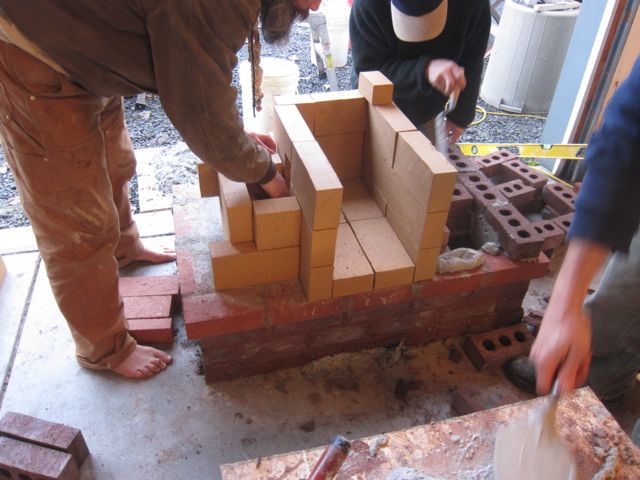
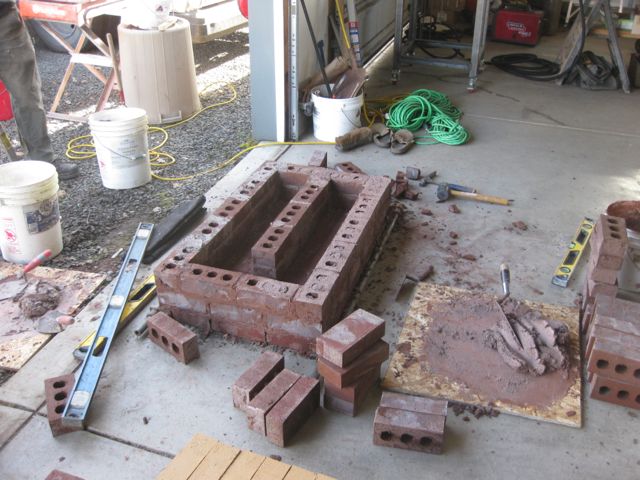
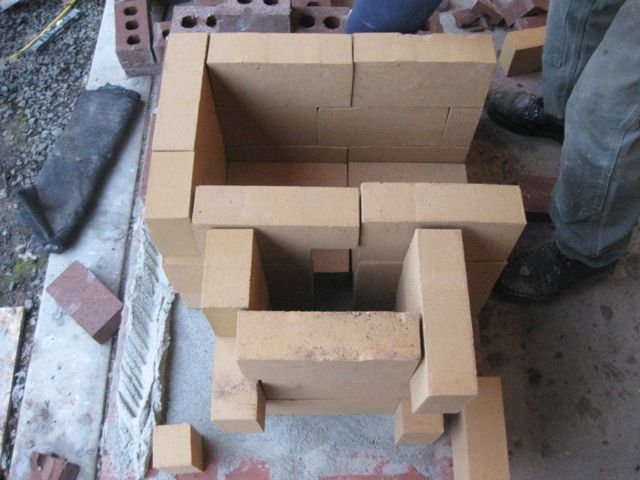
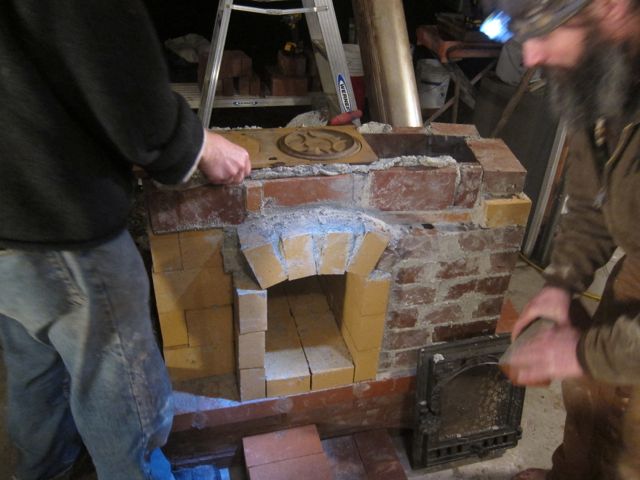
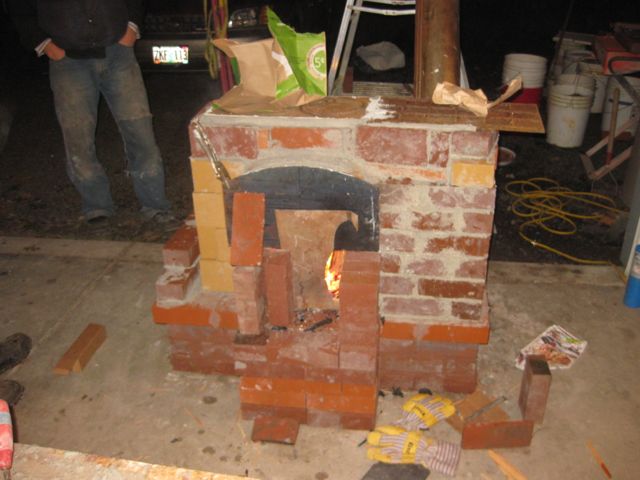
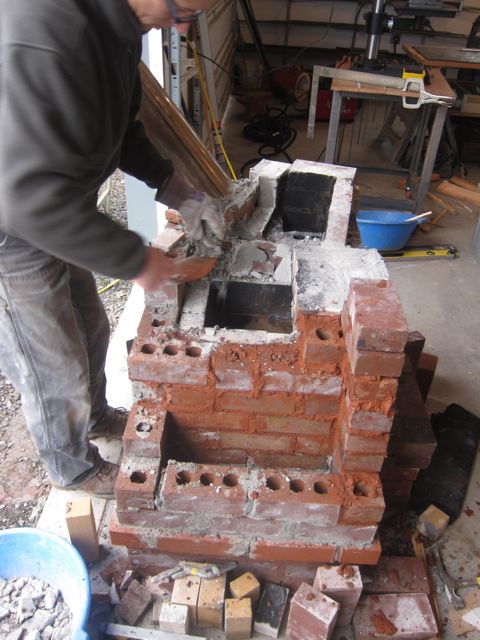
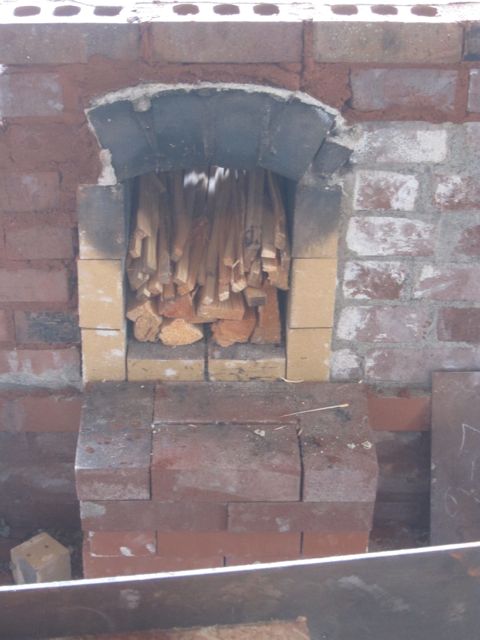
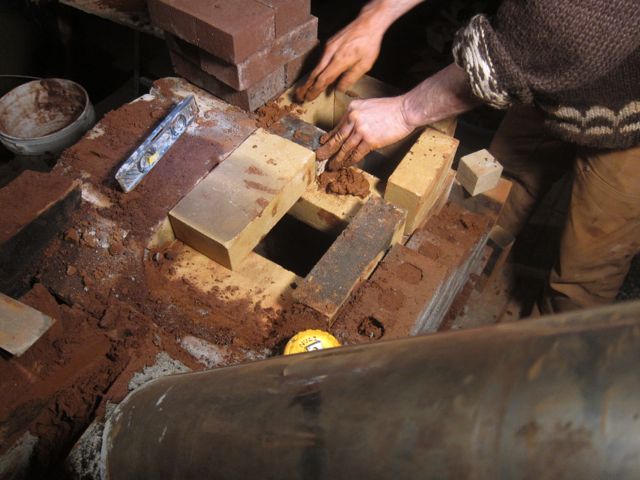
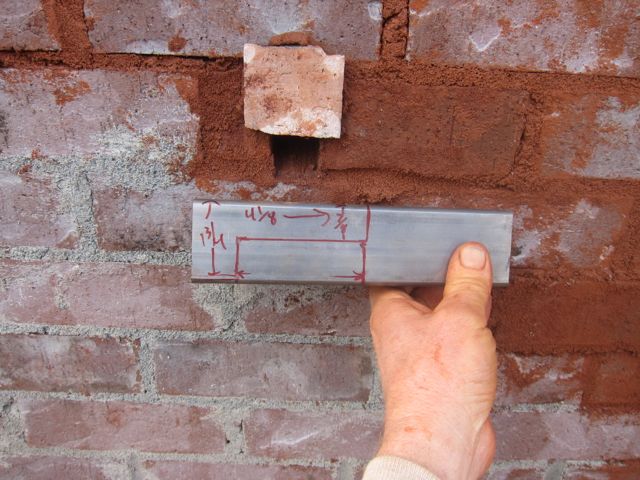
First firebox: vertical throat/slot/nozzle in the middle of the firebox
slot size: our source for tech details: http://donkey32.proboards.com/thread/734/peterberg-batch-box-dimensions
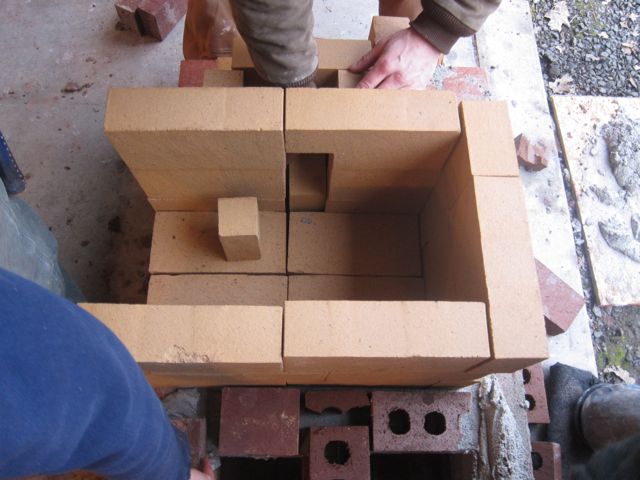
another view of the slot: sizing is critical to maximize turbulence and mixing of fuel and air
we added extra weight temporarily to the buttresses supporting a 4-brick arch, so it doesn’t push the walls apart
hand made arch: lasse’s quick formless technique requires one person holds the bricks in place while others fill the spaces w/chips and mortar
another view, from the back of the firebox
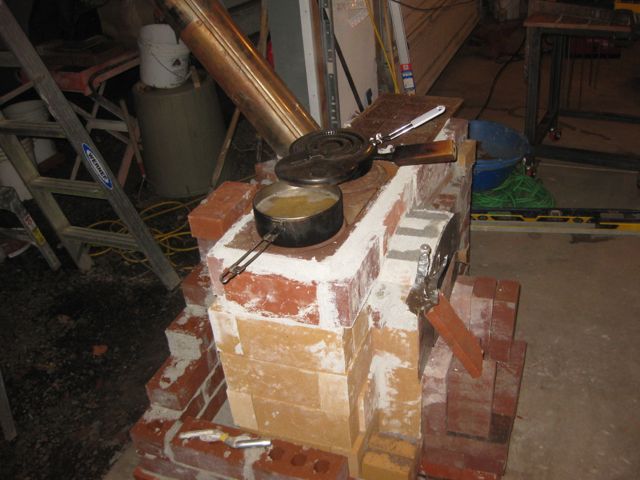
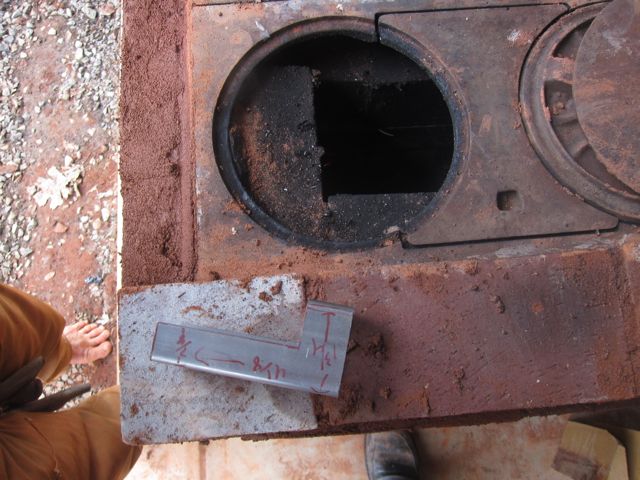
setting the cooktop, which is re-cycled cast-iron plates from an old stove
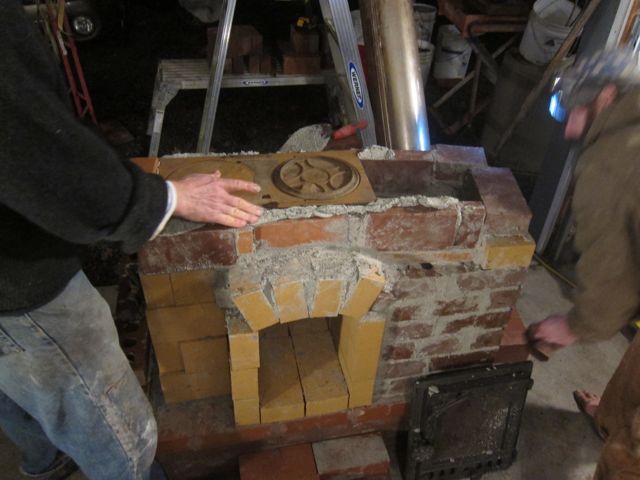
a view of where the fire comes under the cooktop

it drew OK, but wasn’t ‘the most inspiring firebox ever
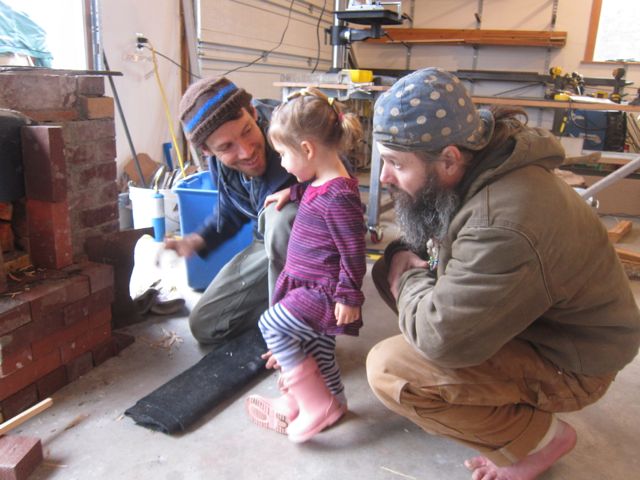
our youngest stover approves!
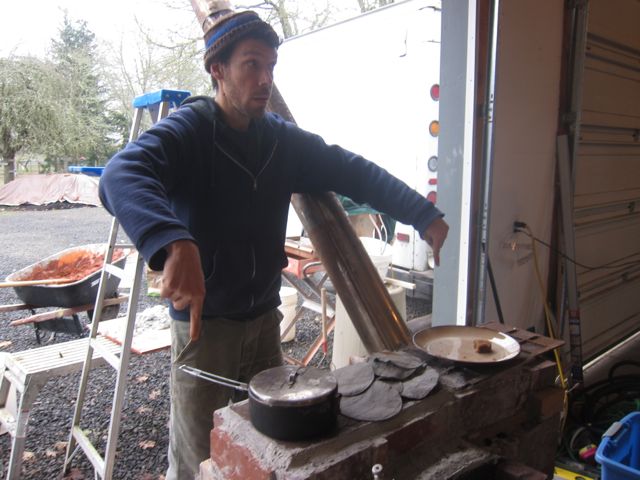
drying out wet paper on the stove top is NOT recommended practice
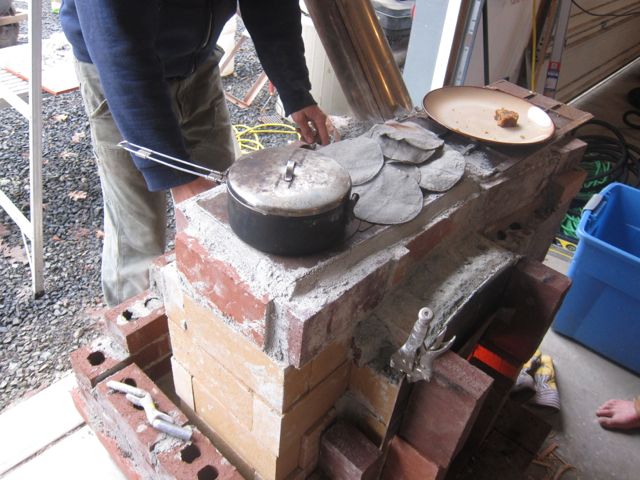
cooking!
breakfast menu: oats, chilaquiles, yum!
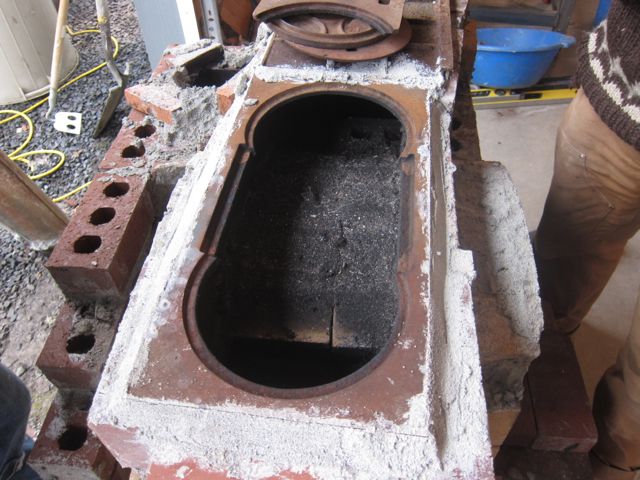
Second experiment: a horizontal throat in the roof, at the back
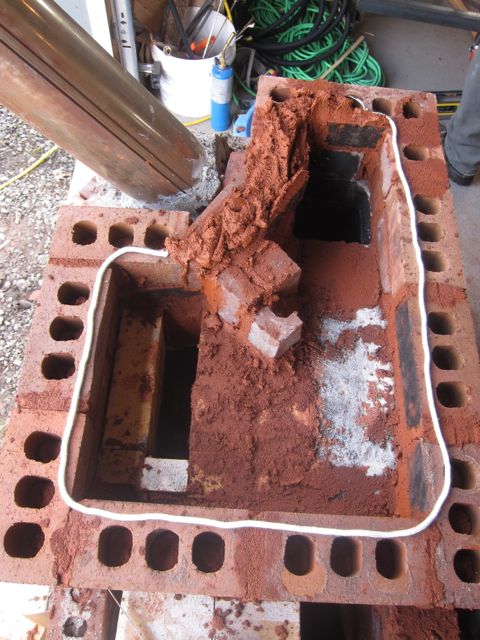
ready for the cooktop
gasketing was a combination of glass rope and mud
We had to use Max’s welding table for a cooktop: it warped a LOT!
Lasse’s full firebox method: he says it works in his stoves (the alaska batch box)
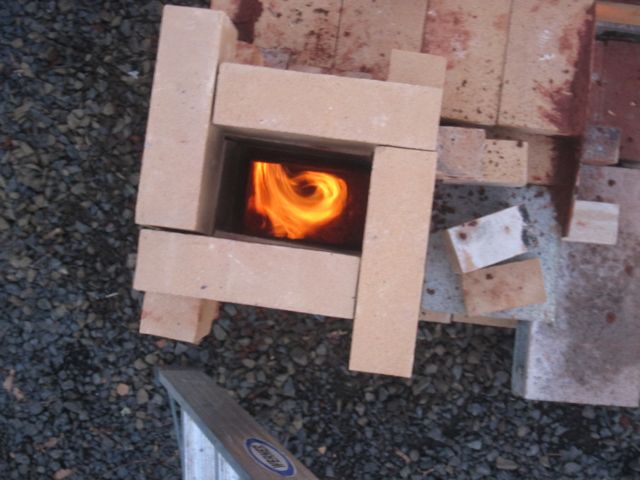
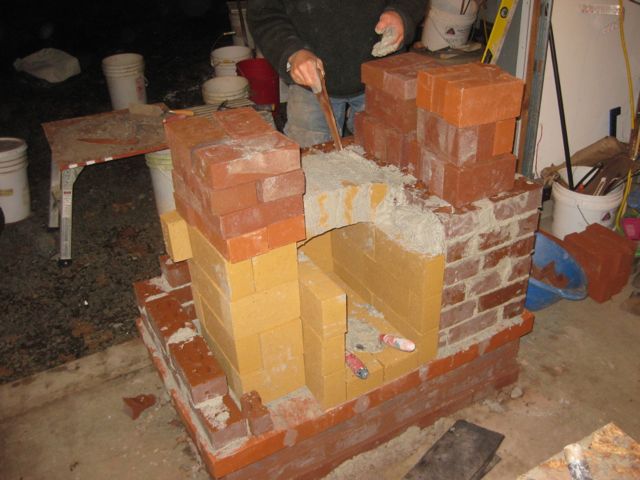
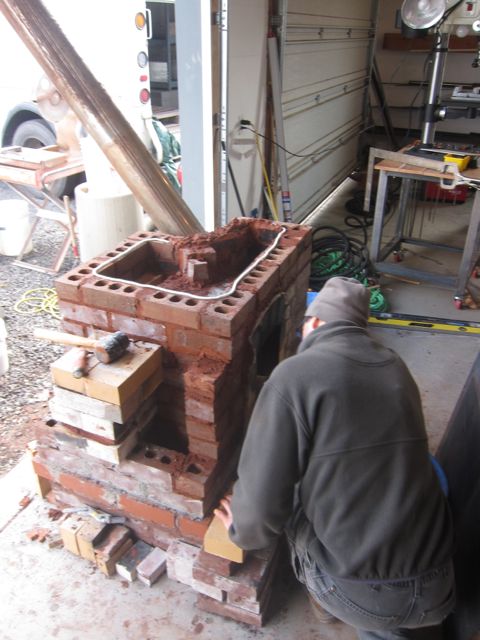
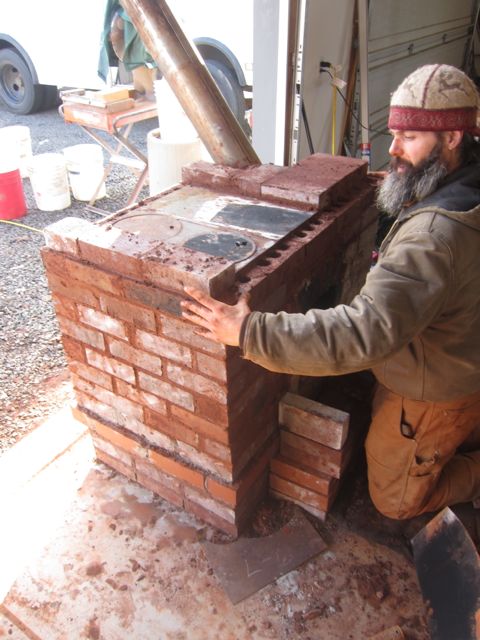
third experiment: lasse wanted to try moving the vertical slot from the center to the corner of the firebox
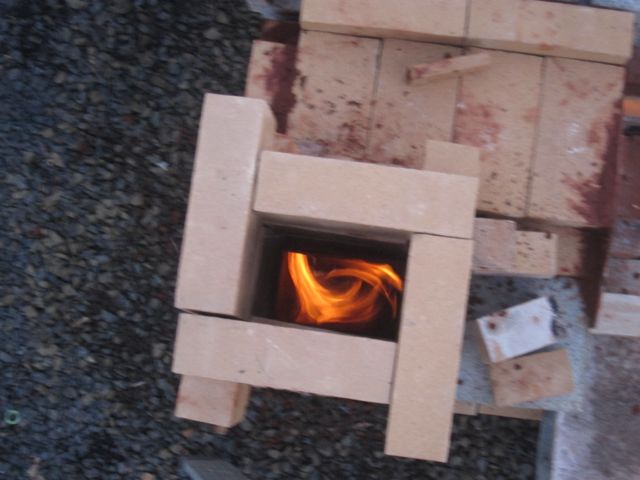
check out that flame path!
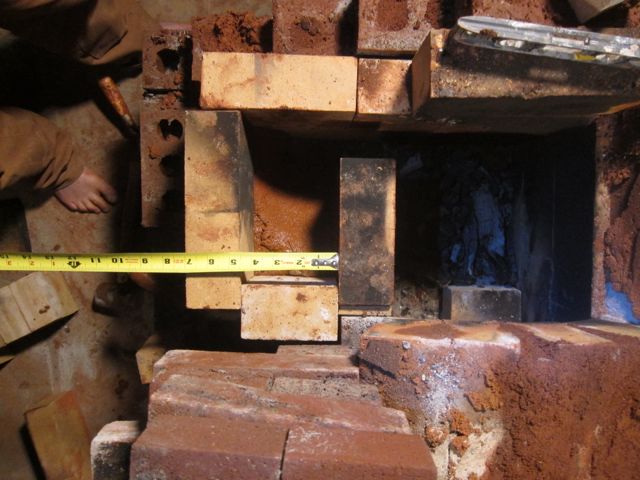
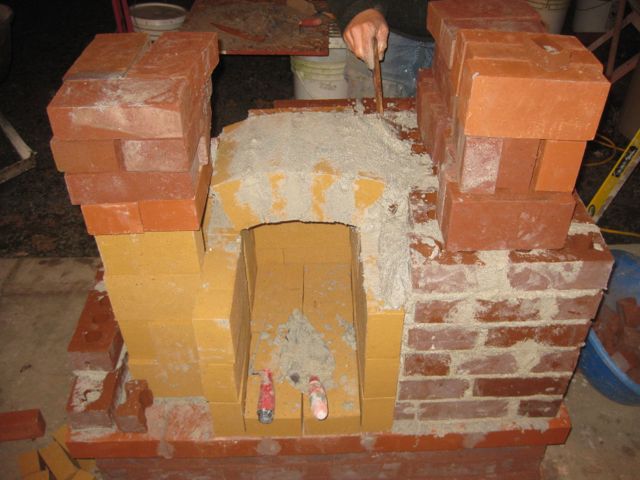
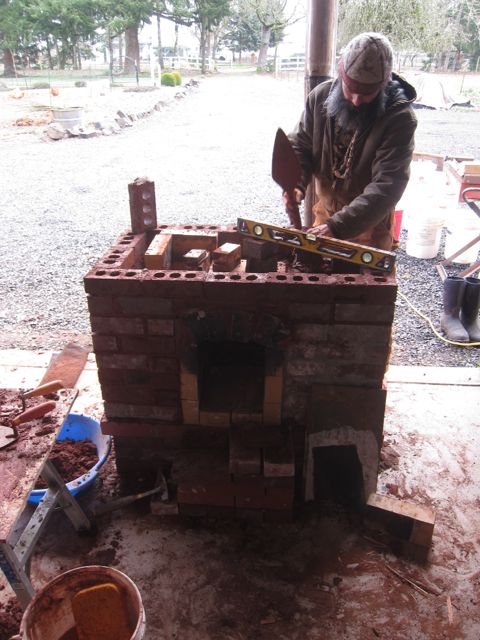
We’re sold on the new design: we rebuild the firebox in the actual stove accordingly (now called the “sidewinder”)
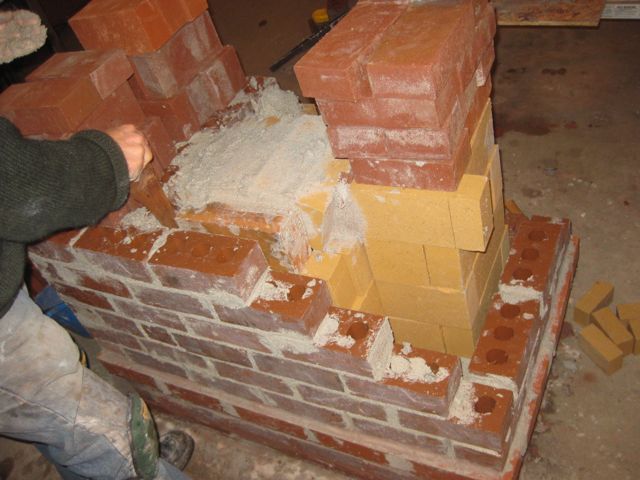
we build a rectangular riser because we didn’t have space for a square one
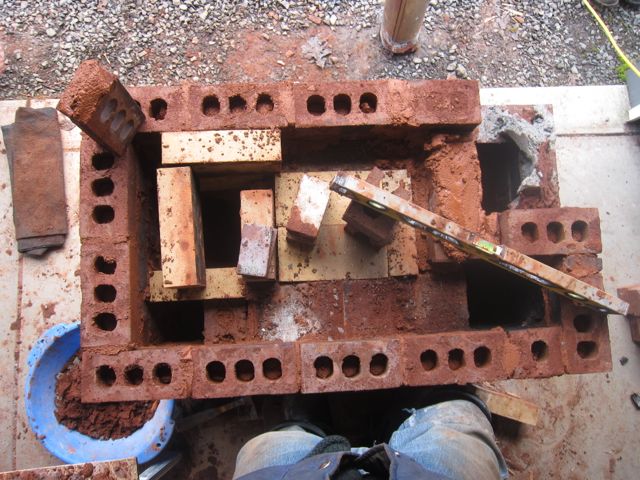
shape determines design: the rectangular firebox w/corner slot may be the reason it works the way it does…
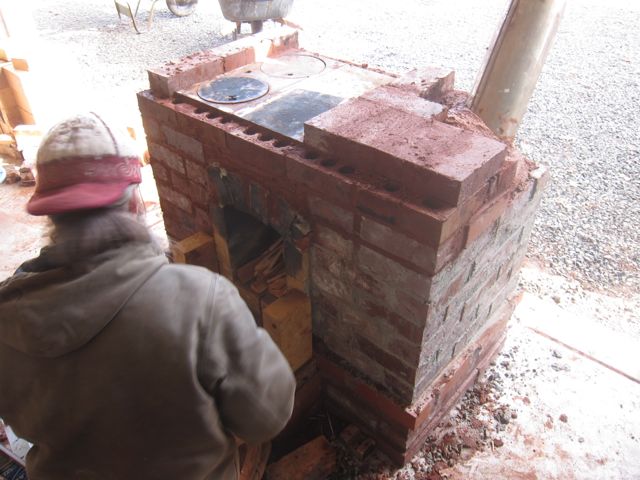
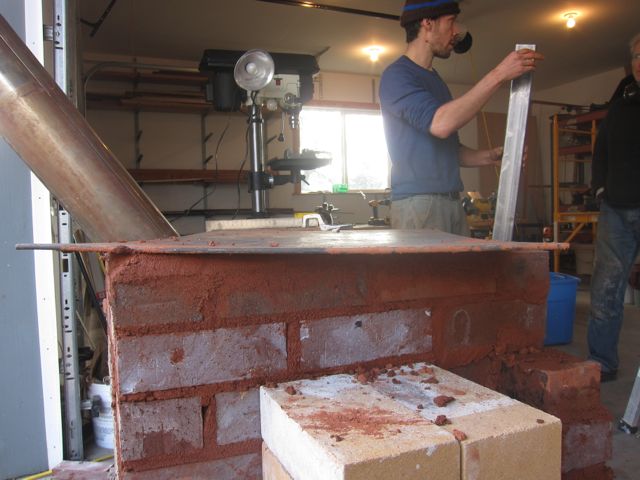
cooktop fits nice! it’s super sweet when what you’ve got fits as tho designed for your purpose
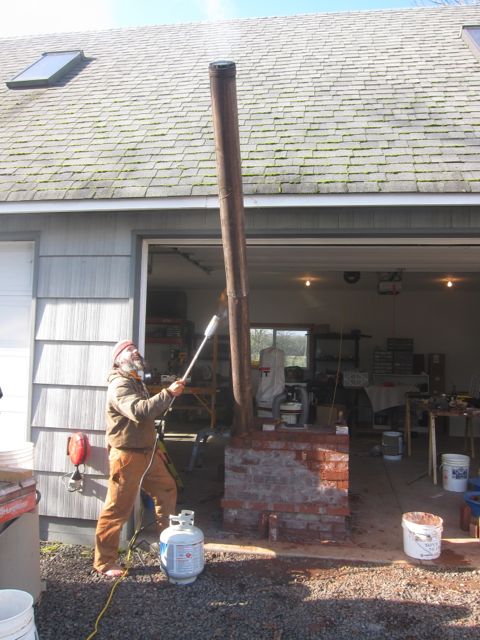
the weed burner is an emergency measure to heat up the chimney and jump start a cold wet stove
The “P-channel” is another Peterberg innovation, it directs 2dary air and maximizes turbulence
Secondary air enters from the back, and gets dumped into the top of the riser at the top of the slot/throat
Hi Kiko, beautiful pictures! You may not remember me- I took a workshop from you at Cob Cottage in May 2011. Then I moved to NC, got married and had some kids, and I’m only now getting around to building us a house. This little stove would be the perfect solution for my space, and I have an experienced mason to help me with technique, but I’d really like to see plans for this improvement in addition to your very thorough photos, and any advice for reincorporating hot water. Thank you for the essential work you continue to do!
The plans are now available: The Cabin Stove Plan Set !
Another comment, I’m sorry, I couldn’t resist after seeing the pictures.
The secondary air is best fed in as close to the riser as possible but certainly not inside it. This seems to be a kind of general rule, I have seen it happen in three completely different designs.
This is what I’ve found out:
Feeding air is best in or right in front of the port where under pressure is lowest, turbulence right after that. Also turbulence before and after the air injection wasn’t any good for the quality of the burn, rather the contrary.
regards, Peter van den Berg
Peter, thanks for your comment; it’s an honor! We have all gained greatly from your contributions to date. Lasse told us he’d be working with you at Wildacres this year, and I imagine by then Lasse will have refined the design further. I’m sorry I won’t be there myself to meet you, but meanwhile, greetings and gratitude from Oregon.